Why You Should Consider Adding Hip Bridges To Your Glute Routine
When it comes to glute-burning exercises, we're familiar with back squats, deadlifts, and different lunge variations. But those backside burners aren't the only exercises worth adding to your glute routine. If you're looking for a butt-toning exercise that is somewhat gentle yet packs a punch, hip bridges will do the trick. That's right: this glute-specific training exercise is performed lying down. Oftentimes you'll find it added to a yoga routine, a warm-up (hence the gentleness), or a strength training workout (hence the booty-burning potential).
In fact, the versatility of the exercise is one of the biggest benefits of hip bridges (via Byrdie). The movement allows you to both stretch your leg muscles and build up several other muscle groups simultaneously. Outside of the gluteal muscles, bridges also work the abs and obliques, hip abductors, hamstrings, and quadriceps, points out Verywell Fit.
Beyond strengthening the muscles, this simple movement boosts core stability, improves posture, strengthens connective tissues and joints, and decreases the risk of injury (per Byrdie). One 2015 study shares that exercises like the hip bridge that focus on core strength can even help alleviate lower back pain, since the movement enhances deep trunk muscle stability. So, if increasing core and glute strength are at the top of your fitness goals, adding hip bridges to your routine may not be a bad idea. As always, talk to your doctor first before switching up your fitness routine.
How to properly perform a hip bridge
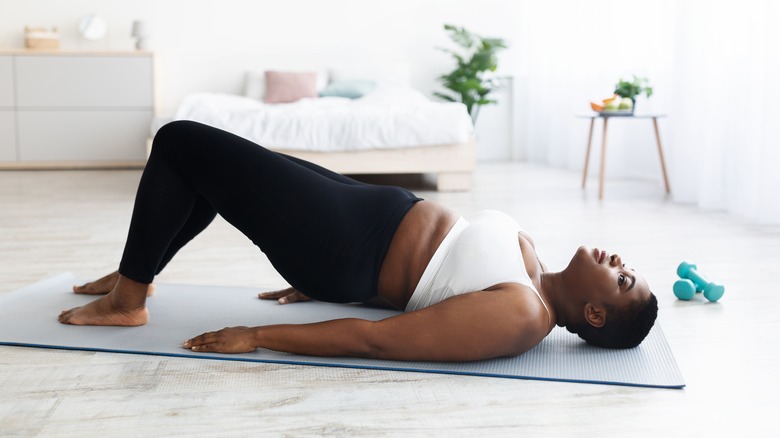
Hip bridges are pretty straightforward to perform. To start, you'll want to find an open space on the floor. For those wanting a softer surface, use a yoga mat or towel, or perform the exercise on carpet. Next, you'll want to lie on your back, bending your knees until your feet are flat on the floor and directly underneath your knees (via Verywell Fit). Squeeze your core and butt, then lift your hips up to the sky, creating a straight line between your shoulders and knees. Hold for 20 to 30 seconds, then release back down.
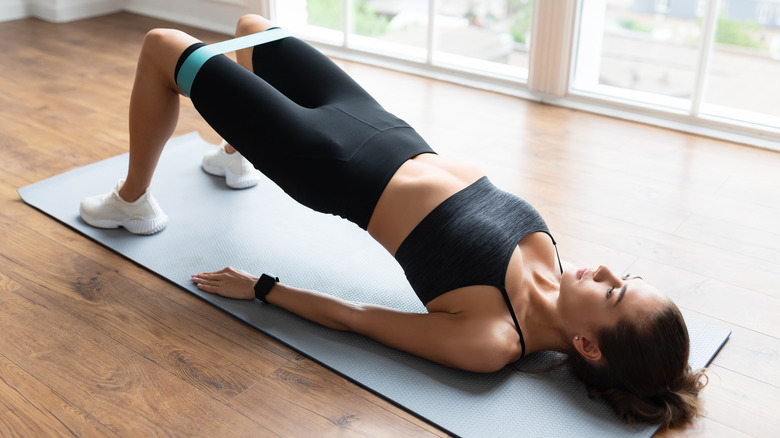
Once you feel confident with the technique of a basic hip bridge, there are many other variations to try. Some of the most common are bridges with resistance bands, elevated bridges, and single leg bridges (per Byrdie). For bridges with resistance bands, follow the same motion as a basic bridge, but place a band right above the kneecap, and press your knees against the band as you hold the bridge.
Elevated bridges, on the other hand, aren't performed on the floor. Instead, they're performed against a raised surface like a workout bench to lift your back and further tax your muscles to increase stabilization and strength (via Byrdie). Barbells can also be added to this variation to add even more tension to the movement. Unlike regular bridges, Healthline points out that barbell bridges require you to hold a barbell across your hips throughout the bridge motion.