The Best Exercises For Scoliosis
We've all heard it before: Exercise is good for you. But what about those with scoliosis? A common misbelief is that people with scoliosis shouldn't (or can't) exercise — which is simply not true. But what is scoliosis and what causes it? Typically, the spine grows straight, but when scoliosis occurs, the spine curves sideways, often making an S or C shape. Someone with scoliosis usually appears to be leaning to one side when they are standing (via Johns Hopkins Medicine).
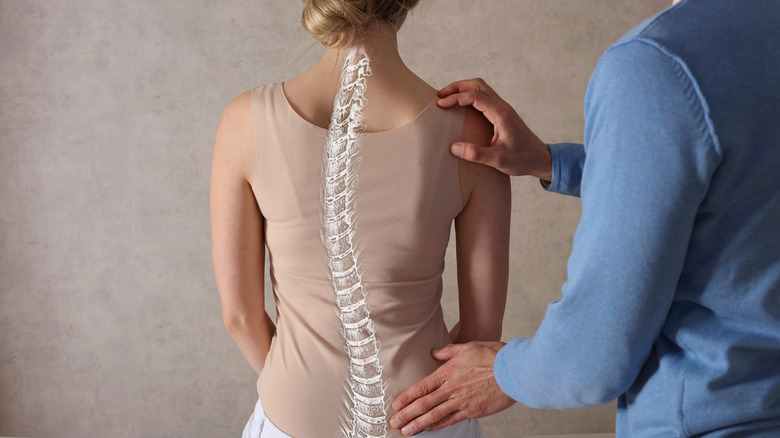
In general, diagnosis occurs in adolescence with an X-ray, MRI, or CT scan to confirm that the spine is curving greater than 10 degrees in a certain direction. The majority of cases are often mild — however, after the initial diagnosis in a child, it is important to continually monitor the spine growth to determine if treatment is necessary. While most causes are unknown, some doctors believe scoliosis may be hereditary. Other less common but potential causes include neuromuscular conditions like cerebral palsy or muscular dystrophy, congenital scoliosis, spine injuries or infections, or spinal cord abnormalities.
Before we dive into specific exercises for scoliosis, let's take a look at some of the symptoms and how it's diagnosed.
Symptoms and diagnosis
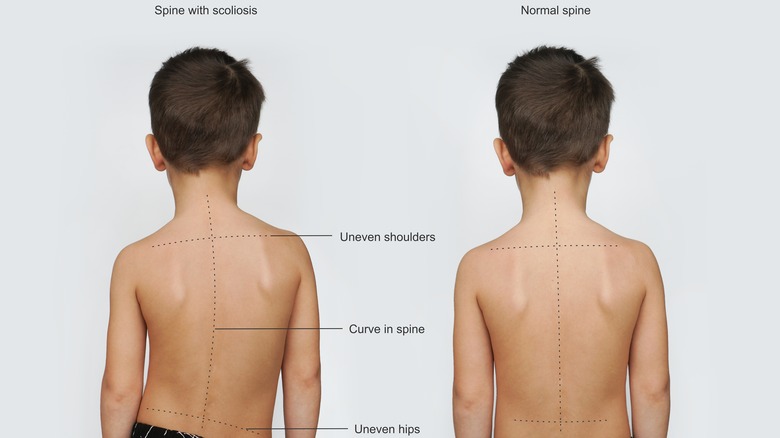
There are several different types of scoliosis, and while each person may experience slightly different symptoms, some of the most common signs of scoliosis include variation in shoulder height, a head that appears uncentered, different hip or shoulder blade heights, asymmetry in the rib cage, different arm positions when standing straight, or asymmetry in the sides of the back when bending forward. According to Johns Hopkins Medicine, early diagnosis and treatment leads to the most efficient outcomes.
Sometimes, in mild cases, no treatment is needed. However, if the spine begins to develop a curve between 20-50 degrees, a brace is often recommended. In severe cases, where the spine curves more then 50 degrees, surgery is usually proposed. If you suspect your child has scoliosis, it's time to visit your doctor, as most cases are mild with subtle symptoms and no pain (via the Mayo Clinic). Unfortunately, some individuals with scoliosis can experience complications like breathing problems, back pain, and an uneven body appearance.
How exercising can help
Attempting to exercise with scoliosis can feel intimidating — but it doesn't have to be. The key is in finding the best exercises for your specific type of scoliosis. According to Dr. Neel Anand, director of spine trauma at Cedars-Sinai Spine Center, "Exercise can help build and maintain core strength to support the spine." Therapeutic exercise can be beneficial for scoliosis and may decrease symptoms like pain and asymmetries, and even slow or stop the progression of the spine curve. The right exercises can also increase your flexibility and mobility, improve muscle strength and endurance, support the respiratory system, and decrease feelings of instability from spinal degeneration (via Spine Universe).
The best exercises for scoliosis include a combination of both stretching and strengthening. Stretching helps support movement, flexibility, and mobility; while strengthening exercises help build your muscles and stamina, which in turn can slow the development of scoliosis and decrease associated symptoms. Many types of exercises can be performed at any age, but some are better suited for children and others for adults.
Exercises for children and teens

Before beginning any scoliosis-specific exercise program, it's important to check with your doctor to find one that is right for your specific needs. It's best to find a medical professional who specializes in scoliosis. While research suggests that exercise is safe and effective for those with scoliosis, it's important to listen to your body and avoid any physical activity or movement that feels painful or uncomfortable.
According to Spine Universe, the best exercises for children with scoliosis include the bird-dog stretch, double leg abdominal press, prone plank, leg lifts while lying on the back, pelvic tilts, and cat/cow. For teens, pelvic tilts are also recommended, as well as wall stands, the sitting rotation stretch, and plank. In addition, some physical therapists may incorporate The Schroth Method into your treatment, which is a scoliosis-focused exercise plan catered to an individual's specific needs and "may help teens reduce the magnitude of their spinal curve" (via Spine Universe). Let's explore some of these exercises in more detail, as well as some of the best exercises for adults with scoliosis.
Pelvic tilts
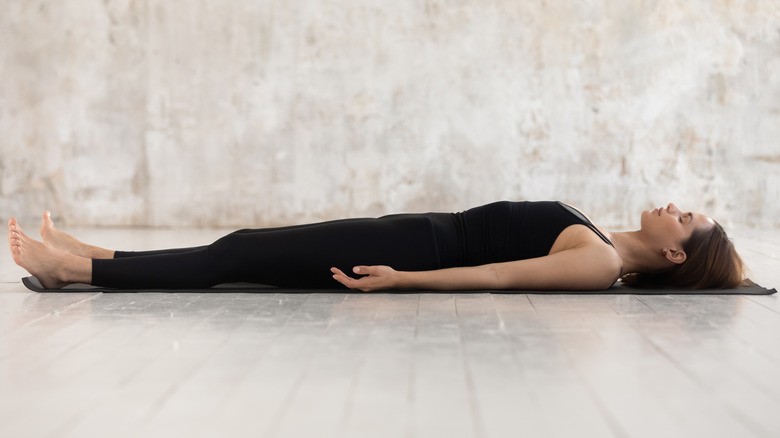
Pelvic tilts can help build up your low back muscles and improve your core strength. Strengthening these muscles can help improve your posture and the position of your spine over time, which may decrease some of the pain, fatigue, and discomfort associated with scoliosis. To practice this movement, start lying on your back on the ground or a yoga or exercise mat. Then, begin to engage your glute muscles and your abs while pushing your back into the ground. As you are doing this, focus on tilting your pelvis gently forward. Breathe deeply and try to hold this position for at least five seconds, then relax.
WebMD recommends trying this exercise 10 times and twice per day to help strengthen your low back muscles over time. Pelvic tilts for scoliosis are generally recommended for any age, including children, teens, and adults (via Spine Universe).
Sitting rotation stretch
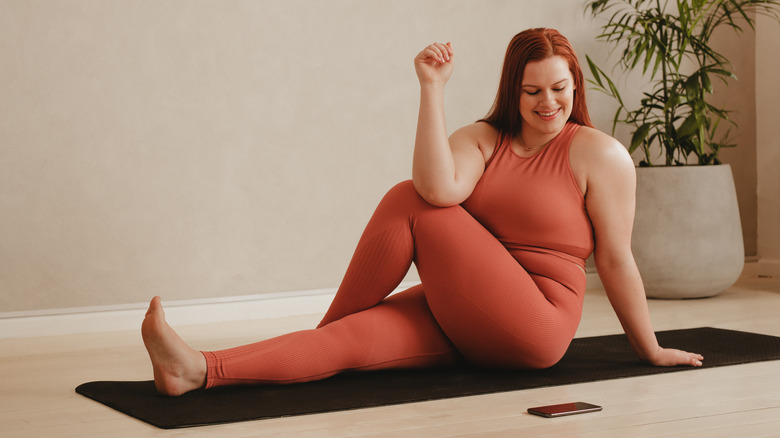
The sitting rotation stretch may help increase your mobility and flexibility, which can also decrease pain and discomfort from scoliosis. To practice this stretch, start by sitting on the ground on an exercise or yoga mat with your legs out straight. Then, lift your right leg up and cross it over your left. Bend your right knee and place the sole of your right foot on the ground to the left of your left leg. Put the palm of your right hand on the ground behind you to help support your body. Then, slowly twist your upper body toward your right leg. Extend your left arm out straight and rest your left elbow on the outside of your right knee. You can also press your elbow against your knee and gaze over your right shoulder to deepen the stretch.
WebMD recommends to hold the position as long as your physical therapist or medical professional suggests. Make sure to also practice this exercise on the other side to balance things out in your body.
Bird-dog stretch
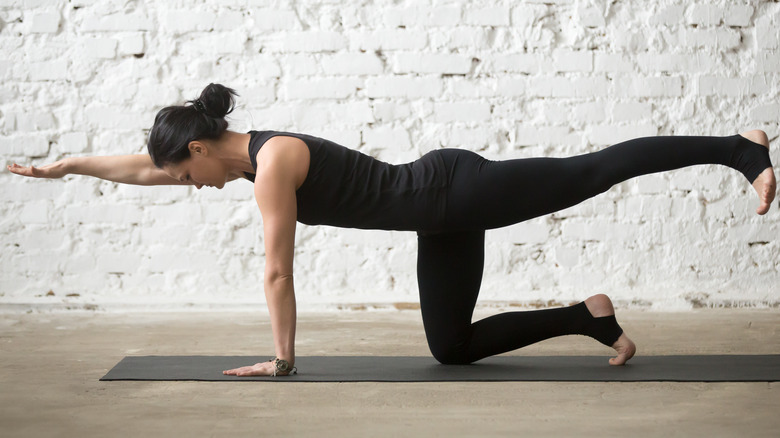
Bird-dog stretch helps strengthen your abs and core muscles and can help increase your ability to balance. Having a strong core can help improve posture and symmetry in the body, as well as overall strength. To practice this exercise, begin on your hands and knees with your hands underneath your shoulders and your hips under your knees. It might feel more comfortable to be on top of a yoga mat or soft, non-slip surface. Slowly lift your right arm up to shoulder height, reaching your fingertips forward, directly out in front of you. Then, gradually straighten and lift your left leg up to the height of your hips.
Hold this position for as long as your physical therapist or doctor recommends, then gently release, suggests WebMD. For symmetry, make sure to repeat the exercise on the other side as well. Try not to arch your spine or round your back when practicing this movement.
Yoga for scoliosis
The practice of yoga can be very beneficial for those with scoliosis. Elise Browning Miller, a senior certified Iyengar Yoga teacher, certified yoga therapist, and author of the book "Yoga for Scoliosis: A Path for Students and Teachers," found relief from her own scoliosis through yoga. "Before I began my yoga practice, my body didn't know what 'balanced' felt like. Through yoga, I have learned that I can be balanced and graceful, even with a curved spine," says Miller. Yoga helped her minimize the pain associated with scoliosis, in addition to supporting her spine, building muscle strength, and creating more balance in her posture. "Ultimately, the goal of yoga for scoliosis should not be to straighten our backs. We must learn to accept them as they are," adds Miller. She suggests focusing on poses that help extend your spine and strengthen and stretch your back muscles, like child's pose and locust pose (via Yoga Journal).
Cat/cow
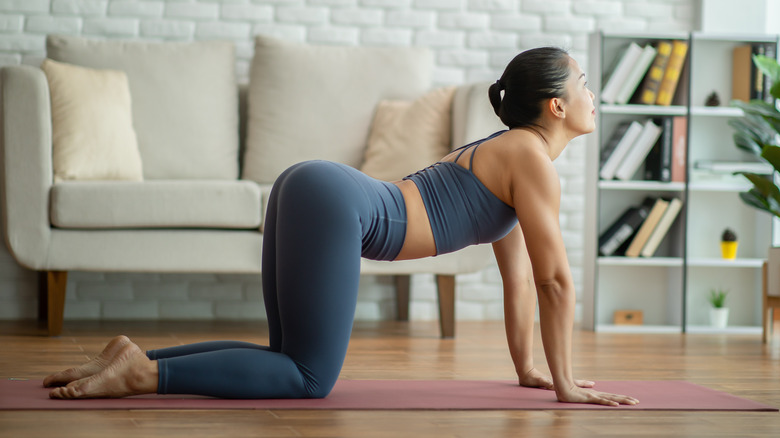
Cat/cow is a traditional yoga exercise that involves flowing through two different postures, cat and cow. This movement stretches the muscles around the spine that help support it, as well as your low back. To practice this exercise, start on your hands and knees, with your hands underneath your shoulders and knees under your hips. Gaze down toward the ground, with the back of your head in line with your upper body. Gently tuck your chin into your chest and arch your spine toward the sky, like a Halloween cat — this is the cat stretch. Hold here and take a deep breath.
Then, to move into cow pose, gently lift your chest and tailbone toward the sky, gaze up, and move your belly button toward the ground, making a U shape with your torso. Stay here for one round of breath, then go back into cat pose, alternating back and forth between the two shapes (via Spine Health).
Plank
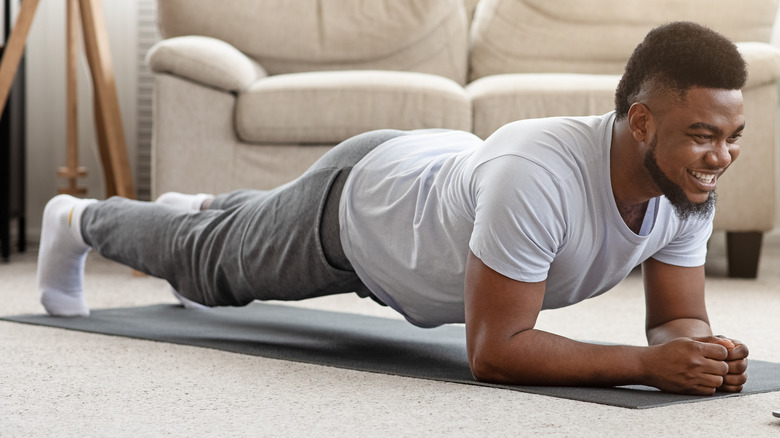
The plank exercise is beneficial for strengthening your core muscles. There are several different variations depending on how easy or hard you want to practice. Level 1 is forearm plank, resting on your knees, elbows and forearms. To practice level 1, begin lying on your stomach on a non-slip surface or yoga mat. With your elbows underneath your shoulders, push into them to lift your upper body, keeping your knees on the ground. Make sure your forearms are parallel, elbows are bent at a 90 degree angle, abs are engaged, and your back isn't arched. To move to level 2, keep your knees on the ground, but press your palms into the floor with your hands underneath your shoulders, straightening your torso. Your knees shouldn't be under your hips, rather a little bit behind them.
Level 3 is forearm plank with feet on the ground. Begin on your hands and knees, then straighten your legs out behind you, with your toes tucked on the floor. Put your elbows underneath your shoulders and forearms on the ground parallel with each other. Make sure your body extends straight, all the way from your shoulders to your heels. The final variation, level 4, is with hands and toes on the ground. Begin on your hands and knees, then extend your legs out behind you, tuck your toes, and place your palms on the ground underneath your shoulders. Hold for as long as you can, or as your therapist recommends (via WebMD).
Upward and downward dog
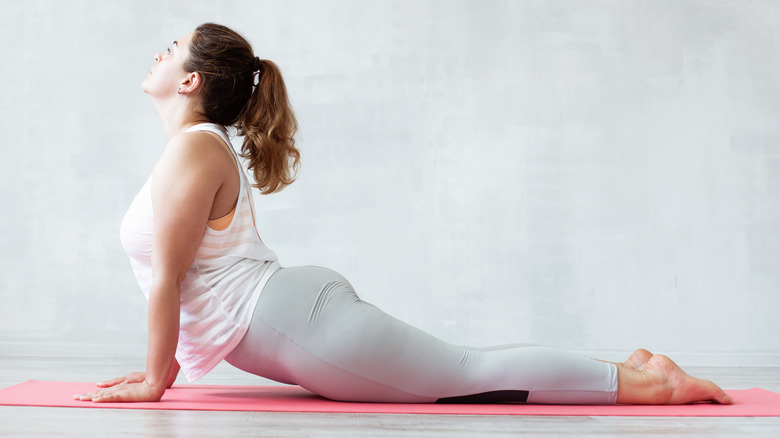
This exercise involves moving back and forth between upward and downward facing dog, two different traditional yoga poses. These postures can be beneficial for scoliosis because they can help promote flexibility, core equilibrium, and spine positioning. It can also help decrease pain, as well as stretch areas that feel tight and strengthen weak areas that are impacted by the spinal curvature (via Healthline).
To practice this exercise, start in plank position, with your palms and toes on the ground. Slowly lift your hips toward the sky and back as far as you can, pushing your chest toward your thighs. Stay here in downward facing dog for two seconds and take a deep breath. Then gently move your hips back toward plank and sink them close to the ground, going as low as you can without experiencing pain or discomfort. Press into your palms and pull your chest forward, gazing forward — this is upward dog. This is considered one rep. Healthline suggests practicing 5-10 reps two or three times per exercise session.
Latissimus stretch
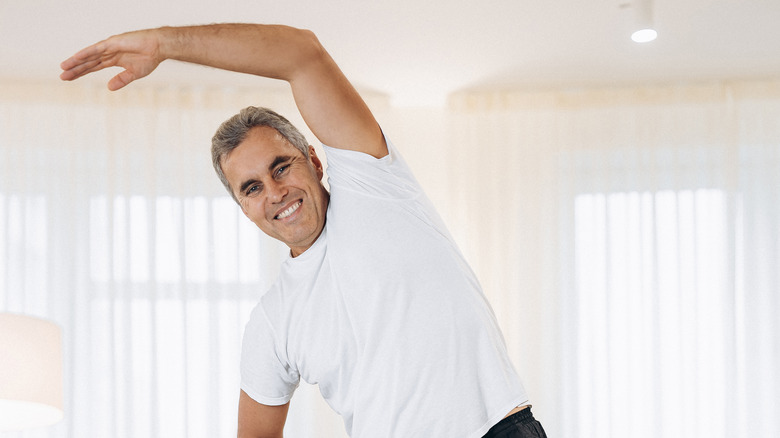
The latissimus stretch helps loosen and strengthen your lat muscles, which are big muscles along your back that link your arms to your vertebrae. Your lats help support your spine and healthy posture, while also powering movement in your back and shoulders (via Healthline).
Lat muscles often feel tight in individuals with scoliosis. To practice this exercise, start by standing with your feet underneath your shoulders and a slight bend in the knees. Extend your arms over your head, reaching for the sky. Take hold of your left wrist with your right hand. Reach your left hand up and over to the right, bending through your right side body until you feel a stretch in the left side of your torso. Shift your weight into your right leg as much as you can while keeping both feet on the ground. You can pull your left wrist with your right hand to help deepen the stretch. Remain in this shape for five to 10 seconds, breathing deeply, then push into your right foot to return to standing with your arms still reaching up.
Switch hands, grabbing hold of your right wrist with your left hand, and slowly repeat this exercise on the other side (via Spine Health).
Bridge pose
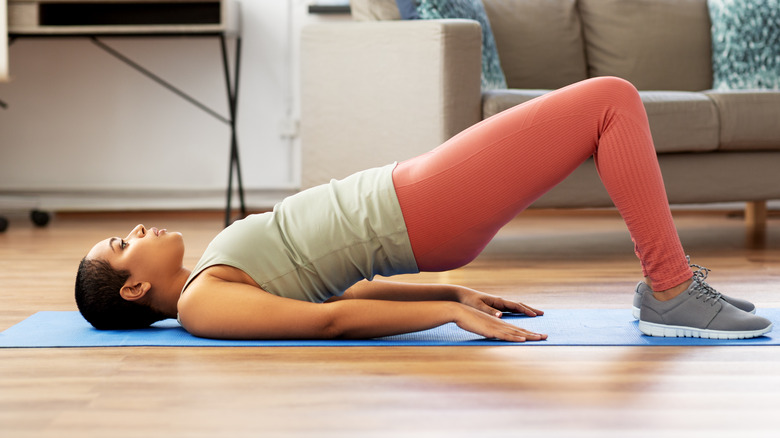
Elise Browning Miller, certified yoga therapist, recommends practicing bridge pose for those with scoliosis (via Healthline). Bridge pose is a gentle backbend that can help improve posture and strengthens the muscles in your glutes and low back. To practice this posture, start by lying on your back on a yoga mat or non-slip surface. Bend your knees and place the soles of your feet on the ground, parallel and hip-width distance apart. Slide your feet so that they are close to your glutes. As you inhale, press into your feet to lift your hips up toward the sky, making sure to engage and use your glute muscles to fuel the movement. You can stay here, or roll your shoulders underneath you and clasp your hands together underneath your torso, interlacing the fingers. To release, let go of your hands as you exhale and gently lower your hips to the ground. Pause here for a moment and take a few deep breaths (via Yoga Journal).
Step down and one-arm reach
This strength and conditioning exercise supports beneficial movement that may help mitigate symptoms of mild scoliosis cases. To begin, first determine which leg appears longer from your specific spine curvature by lying down on your back on a flat surface. You may need someone to assist you in observation. You will also need to perform this exercise near a step or small box. The longer leg will step up and stand on the box or step. Put your weight into that leg and balance on your foot, while slowly bending your knee to lower your opposite leg down toward the ground.
As you practice this movement, simultaneously raise the arm of the same side that is being lowered down toward the ground. For example, if you are standing on the step with your left leg, you will bend your left knee and lower your right foot toward the ground while raising your right arm. Raise your arm so that your fingers point toward the sky, or as high as you can go. Do 5-10 reps, then rest, and complete a total of 2-3 sets of this exercise. Healthline recommends that you do not repeat this movement on the other side.
Split stance with arm reach
This exercise also requires you to figure out which leg appears longer in your body (which you can do by lying down on your back on a flat surface). Move your legs into a lunge shape, but with both legs straight and make sure the longer leg is in front. As you practice this exercise, try to keep your upper body upright as much as you can. Slowly start to move your body weight back and forth between each leg, gently bending the knee of your front leg as you shift your weight into it. As your front knee bends, gently lift the arm that is opposite of that leg as high as you can, attempting to reach your fingertips toward the sky. At the same time, extend your other arm back, reaching the fingertips toward the back of the room.
For example, if your left leg is in front, you would bend your left knee, lift your right arm toward the sky, and your left arm reaches toward the wall behind you. This movement should slightly shift your torso toward the side of your front leg. Take a deep breath and return to your starting position. Healthline suggests repeating this exercise for 5-10 reps and a total of 2-3 sets. Do not try to practice this movement on the other side.