The Right Way To Do A Reverse Plank
If you've ever done bodyweight strength training exercises or taken a yoga class, you're likely familiar with planks, that painful, high push-up position that works nearly every muscle in your body. If you've mastered the plank, you may want to add a reverse plank into your routine for similar benefits, but be warned: A reverse plank needs to be done with proper technique to make it effective, and to avoid wrist problems.
The reverse plank — also known as the upward plank, or Purvottanasana in a yoga setting — strengthens the lower back, glutes, hamstrings, and core (via Yoga Journal). You'll also work your shoulders and wrists (via Women's Health). In addition, the reverse plank stretches the entire front of your body — great for office workers who've been hunched over a computer all day (via DoYogaWithMe.com). Combining regular planks with reverse planks and side planks is a great way to work every muscle in your core.
How do you do a reverse plank?
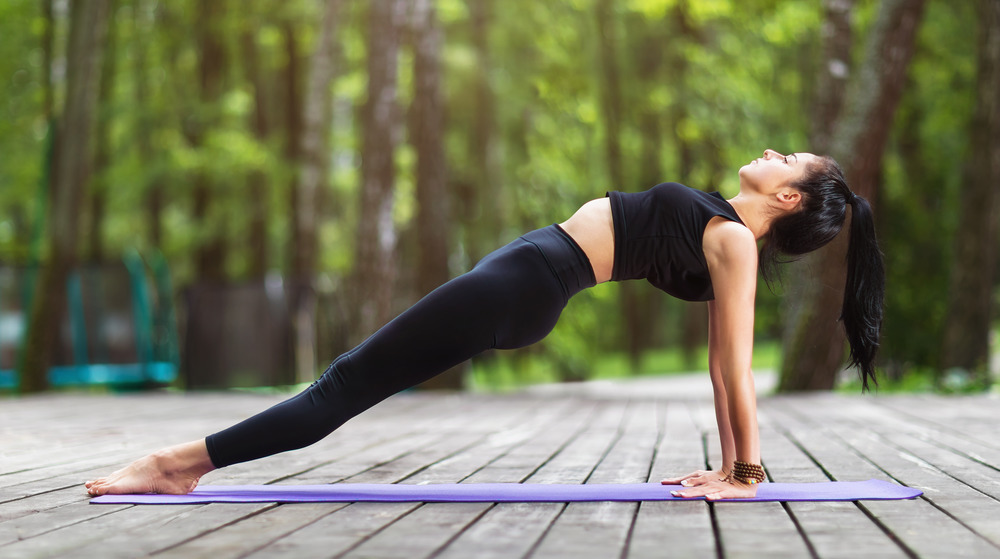
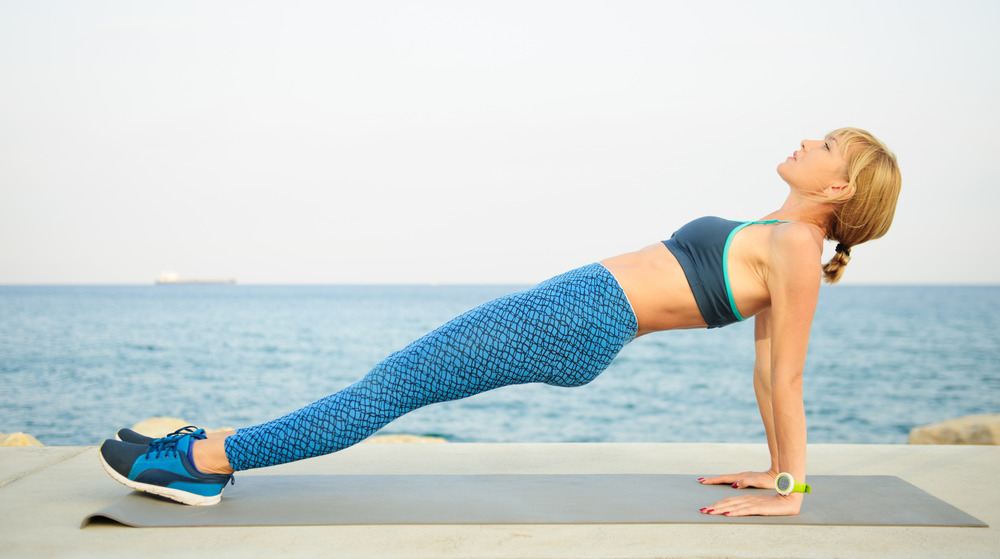
To do a reverse plank, start in a seated position on the floor with your legs straight out in front of you, and your palms on the ground at your sides. Your fingers should be pointing down towards your toes — the opposite of the way they would face during a normal plank. Press your hands and heels firmly into the ground as you begin to lift your hips and bring your body into a straight line, engaging your core muscles as you lift (via Healthline). If this is difficult, try straightening one leg and then the other. Hold this for around 30 seconds before slowly lowering to the ground.
Try to avoid letting your hips drop while you're in the reverse plank position: Focus on maintaining that straight line through your legs and core. If you have wrist issues, you can do a reverse plank on your elbows the same way that you can do a regular plank on your elbows. Rather than starting with palms on the floor, start with forearms on the floor with your fingers pointing towards your toes and gently pressing palms into the floor.