The Benefits Of Doing Warrior 1 Pose In Yoga
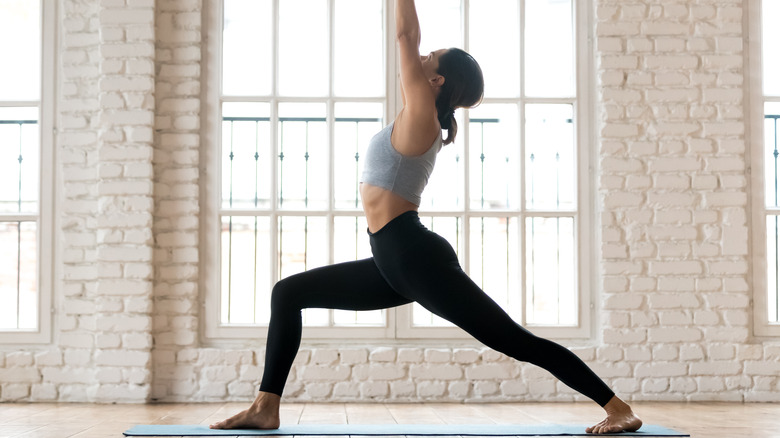
Warrior 1 isn't one of the wild poses you'll see on Instagram, but it's one of the foundational poses in a sun salutation or any other hatha yoga class. According to each person's body structure, warrior 1 pose will look different. Beginning yogis will have a shorter stance with the torso upright, while seasoned yogis will have a deep bend in their front knee while maintaining a deep arch in their backs.
Like the other warrior poses, warrior 1 pose (also called virabhadrasana 1) can both strengthen and stretch the legs at the same time (via Yoga Journal). Specifically, the pose will strengthen the hamstrings, quads, and outer hips on your bent front leg while you stamp down with the toes of the foot. Your straight back leg will feel a stretch in the hamstrings, calves, iliopsoas (top of your hip), and ankles. If you press into the heel of your back foot, you'll also feel the firing of that glute. Your upper body and spine will get stretched if you reach your arms overhead.
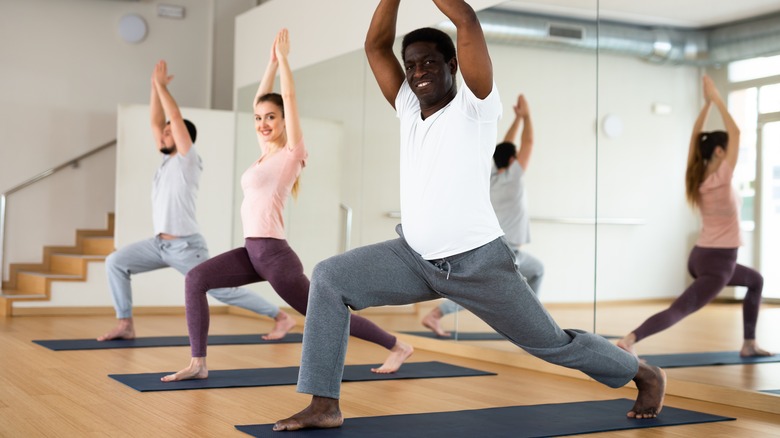
Warrior 1's opening and strengthening benefits make it a great pose after a long day of sitting at a desk. Because warrior 1 improves the mobility in your hips and ankles, it's a great pose for athletes, especially runners (via Man Flow Yoga).
How to do warrior 1 pose
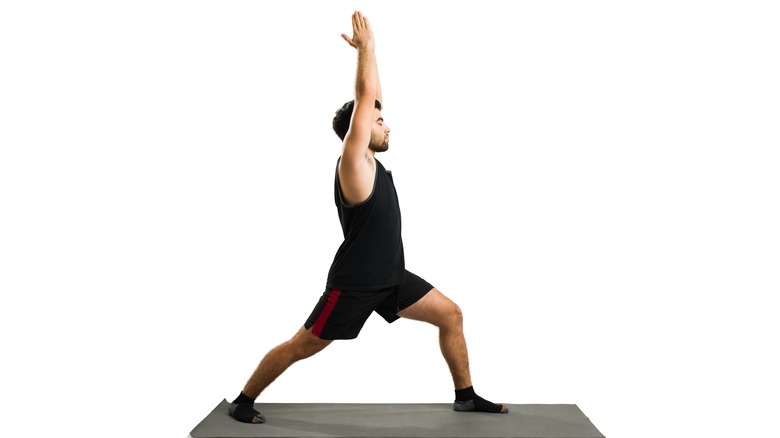
Warrior 1 pose will sometimes come after a downward dog, but you can also start from a stable standing position. Step your right foot forward at a comfortable stance (like you're doing a lunge) and bend the right knee as deep as comfortable, up to 90 degrees. Keep the knee aligned on the same plane as your right foot so the knee doesn't shift outward or inward. With your left leg extended behind you, turn the foot so it's about 45 degrees from the front of your mat. Avoid torquing at the knee, so keep a small bend. Don't worry if both your hip points don't point toward the front of the mat, but try to point your chest toward the front of your mat.
If this stance is difficult to balance, shorten the distance between your feet or move your feet toward the opposite sides of the mat. Once you feel your legs stable, press into the big toe and heel of your right foot. You should feel the muscles of your right leg engage. You'll also press into the heel and outer edge of your left foot.
While keeping a natural curve in the lower back, press your belly button away from the right thigh. While rooting down with both legs, raise your arms overhead while feeling the extension in the spine. Hold for a few breaths, then release by leaning forward and stepping both feet together (via OmStars). Switch to the other side.
Warrior 1 modifications and options
If you have an injury to your knee, ankle, or hip, this pose might cause some discomfort without a modification (via Yoga Journal). You can practice warrior 1 with a chair or wall nearby so you're not putting too much weight on injured joints. People who feel a tug in their lower back should ease the bend in the front knee and remember to pull the belly button away from the front thigh. This will help the top of the pelvis tilt slightly backward and ease the excessive curve in the lumbar spine. Some people might not be able to turn the back foot 45 degrees, so either shorten your stance or raise the heel of the back foot off the mat like you're doing a lunge.
Sometimes your leg strength won't like the pressure of the lunge position on the front knee. Another modification of warrior 1 is to keep the front leg straight (via Tummee). Raising your arms overhead might be uncomfortable if you have tight shoulders or lack upper arm strength. You can modify your arm position in warrior 1 by extending them to your sides like an airplane or keeping your hands on your hips.