Gluten-Free Yule Log Recipe

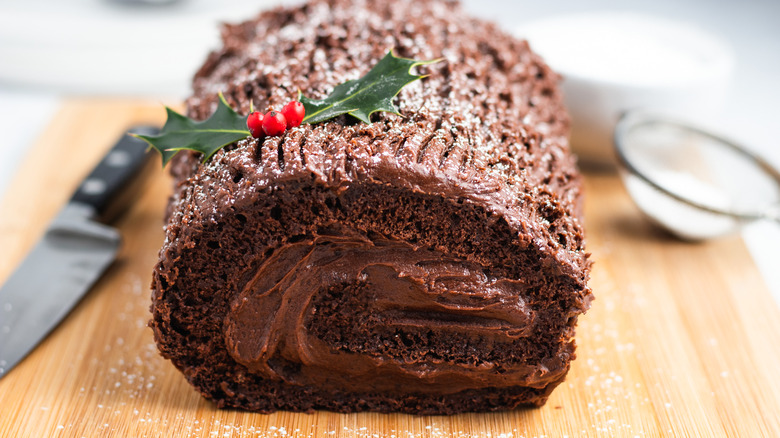
This festive time of year is all about reuniting with loves ones and, of course, enjoying some really great food. This recipe for a gluten-free Yule log is wonderful for anyone to savor, but most especially those who have a gluten allergy. It's comprised of moist cake and decadent chocolate frosting that tastes undeniably delicious. We wouldn't be surprised if you go back for seconds — maybe even thirds!
Recipe developer Catherine Brookes of Blue Sky Eating has crafted some of the tastiest desserts, and this one is no exception. "This Yule log is the ultimate chocolatey, festive dessert! I love the combination of the light sponge and creamy frosting," Brookes raves. "You'd never know it was completely gluten-free." We love the sound of that!
There's no doubt about it: This Yule log is dressed in its festive best, and it will make a total statement on your holiday dessert spread. Keep reading to find out how to make this scrumptious cake.
Gather the ingredients for this gluten-free Yule log
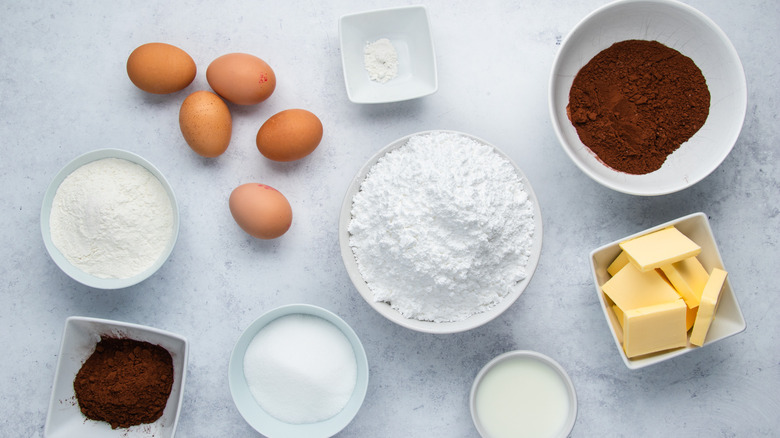
Like any other recipe, you will need to gather all the necessary ingredients to whip up this dessert. Luckily, the list is pretty small, and if you bake a lot, you may have some ingredients at home already.
You will need a few large eggs, sugar, and cocoa powder for starters. To keep with the gluten-free theme, pick up some gluten-free self rising flour and xanthan gum. Add butter and powdered sugar to your cart as well. To complete your shopping trip, swing by the dairy section, and some milk.
Preheat the oven, and start preparing the batter
Are you ready to get cooking? The first step you will need to take is preheating your oven. Go ahead and turn the dial to 390 F. That way, it has time to get nice and hot while you finish the rest of the prep work.
Next, grab a 9x13-inch baking sheet, and line it with parchment paper. This will prevent anything from sticking to the bottom of the pan.
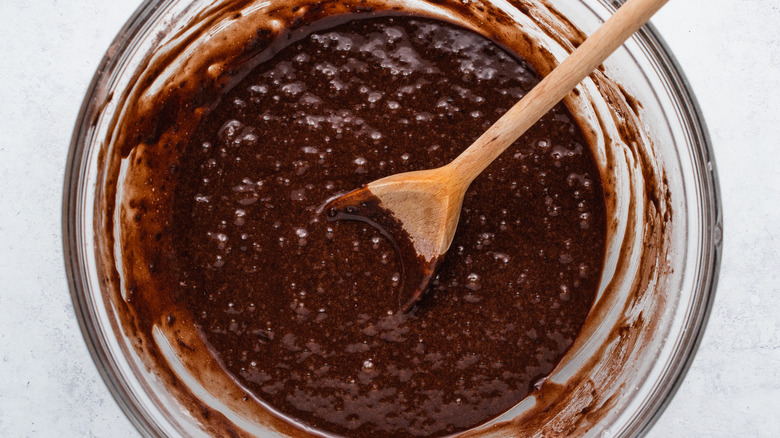
Then, take out a large mixing bowl, and whisk together the eggs and sugar until they're frothy. "It should be slightly lightened in color and have small bubbles all over the surface when you stop whisking," Brookes shares. This will only take a few minutes.
Sift in the remaining ingredients

Using a sifter, sift in ⅓ cup of cocoa powder first. "Sifting is important for removing lumps from the flour and cocoa powder and making sure the mixture ends up nice and smooth," Brookes says.
Next, add the flour and the xanthan gum. Fold everything together gently until just combined. Then, pour the mixture onto your prepared baking sheet, and smooth it out into a thin and even layer.
Now, you can pop the cake into the oven. How simple was it to throw together? Bake for eight to 10 minutes until the cake is springy and cooked through.
Remove the cake, roll, and let it cool
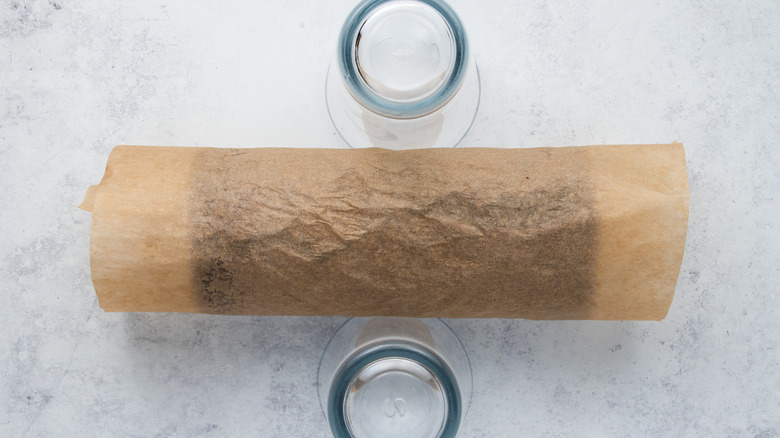
Once your timer goes off, remove the cake from the oven, and carefully place it on your counter. Lift the parchment paper carefully from the baking sheet, and turn it out onto another fresh sheet of parchment paper. Then, peel off the first sheet.
While the cake is still warm, carefully roll it up into a cylinder with the baking paper inside, starting with one of the short edges. "Go slowly, and roll as tight as you can. If there are a few small cracks on the outside, don't worry — it'll be covered in frosting," Brookes notes. Then, place something heavy against the sides so it doesn't unroll. Leave it to cool completely for an hour.
Make the frosting
While the cake cools, you can make the frosting. Take out a large mixing bowl, and add the butter first. (As a reminder, you should have set it out at room temperature ahead of time so it's easier to work with.) Beat the butter with an electric hand whisk until it's smooth and creamy. Add a little bit of powdered sugar at a time, followed by a ½ cup of cocoa powder and the milk. Continue beating until smooth after each addition, until everything has been added.
"The frosting should be thick enough to hold its shape, but smooth enough to spread easily," Brookes notes. If you want a runnier frosting, simply add more milk. Or, to make it thicker, add more powdered sugar.
Layer the frosting, and add lines for a "tree bark" effect
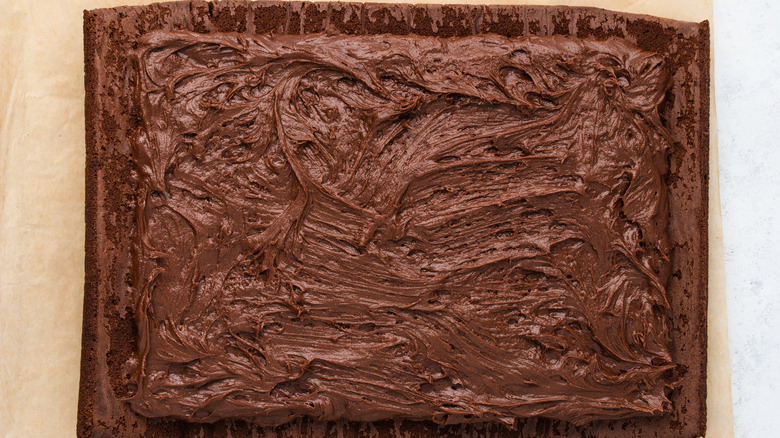
Once the cake has cooled for an hour, gently unroll it so that it's flat. Next, spread a layer of frosting about ½-inch-thick all over the rectangle. Be sure to leave a ½-inch gap around the edges of the cake for when you need to roll it.
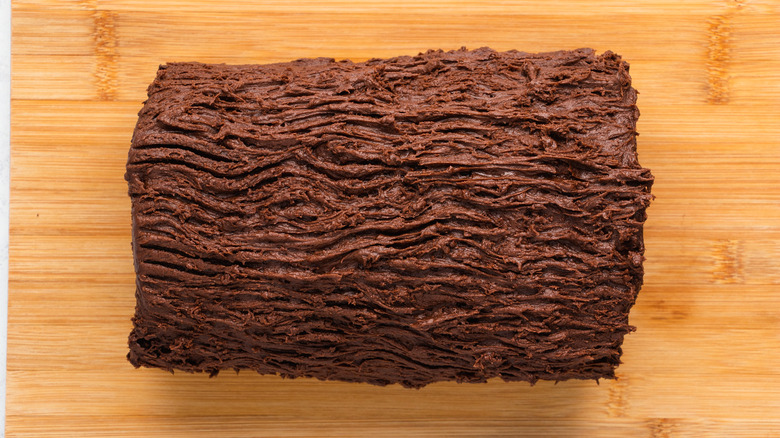
Now, carefully roll the cake back up into a log shape again, and then spread the remaining frosting all over the outside of the log. The more frosting, the better! Once you have frosting on the outside of the cake, use a fork to make some rough lines all over the outer frosting. This will give it a nice "tree bark" effect. Then, cut a small amount off each edge of the log to neaten it up.
Add holly, and enjoy
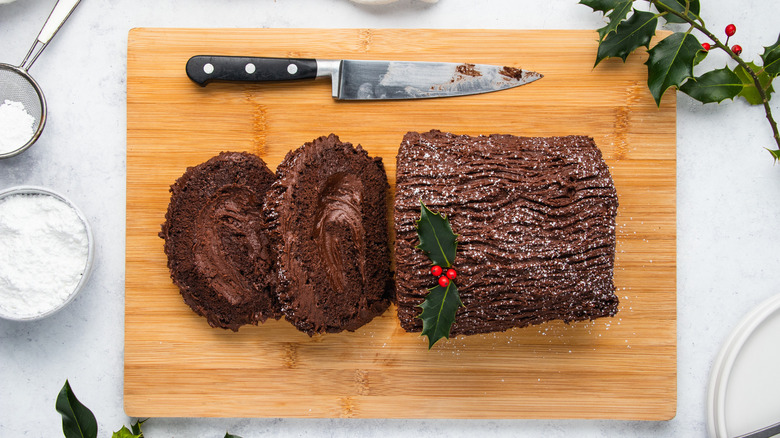
Dust the top of your lovely Yule log with a little extra powdered sugar, and decorate it with some holly. Once you put the finishing touches on the cake, you can finally sit down and enjoy it. This cake is wonderful by itself, but Brookes also provides a few great serving suggestions: "[You can enjoy this] with ice cream, cream, fresh raspberries, or strawberries."
Any cake left over? No problem. "Store at room temp [in an] airtight container for up to three days," Brookes says.
We hope you love this cake as much as we do! It's sure to hit the spot at your next holiday get-together.
Gluten-Free Yule Log Recipe
This gluten-free Yule log is comprised of moist chocolate cake and decadent chocolate frosting that tastes undeniably delicious.
Ingredients
- For the cake
- 5 large eggs
- ½ cup + 2 tablespoons sugar
- 1/3 cup cocoa powder
- ⅔ cup gluten-free self rising flour
- ¼ teaspoon xanthan gum
- For the frosting
- ¾ cup butter, room temp
- 5 cups powdered sugar
- ½ cup cocoa powder
- ⅓ cup + 2 tablespoons milk
Optional Ingredients
- extra powdered sugar, for garnish
- holly, for garnish
Directions
- Preheat the oven to 390 F.
- Grease and line a 9x13-inch baking sheet with parchment paper.
- In a large mixing bowl, whisk together the eggs and sugar until frothy.
- Sift in 1/3 cup of cocoa powder, the gluten-free flour, and the xanthan gum, and fold everything together gently until just combined.
- Pour the mixture onto your prepared baking sheet, and smooth it out into a thin, even layer.
- Bake for 8 to 10 minutes, or until springy and cooked through.
- Lift the parchment paper to carefully remove the cake from the baking sheet, and turn it out onto another fresh sheet of parchment paper. Peel off the first sheet.
- While the cake is still warm, carefully roll it up into a cylinder with the baking paper inside, starting at one of the short edges. Place something heavy against the sides so it doesn't unroll, and leave it to cool completely, about 1 hour.
- While the cake cools, make the frosting. Add the butter to a large mixing bowl, and beat with an electric hand mixer until smooth and creamy.
- Add the powdered sugar, 1/2 cup of cocoa powder, and milk a little at a time, beating until smooth after each addition until everything has been added.
- Once the cake has cooled, gently unroll it, and spread a layer of the frosting about 1/2-inch-thick all over the rectangle, leaving a gap of about 1/2 inch around the edges.
- Carefully roll up into a log shape again, then spread the remaining frosting all over the outside.
- Use a fork to make some rough lines all over the outer frosting to give it the "tree bark" effect.
- Cut a small amount off each edge of the log to neaten it up. Then, dust with a little extra powdered sugar, and decorate with some holly.
Nutrition
| Calories per Serving | 616 |
| Total Fat | 22.0 g |
| Saturated Fat | 12.9 g |
| Trans Fat | 0.7 g |
| Cholesterol | 163.4 mg |
| Total Carbohydrates | 104.3 g |
| Dietary Fiber | 3.7 g |
| Total Sugars | 90.0 g |
| Sodium | 182.3 mg |
| Protein | 7.3 g |