Ways To Modify Bridge Pose In Yoga
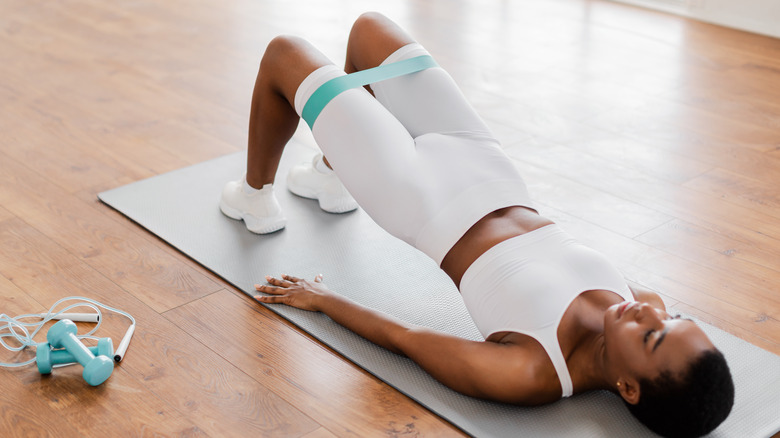
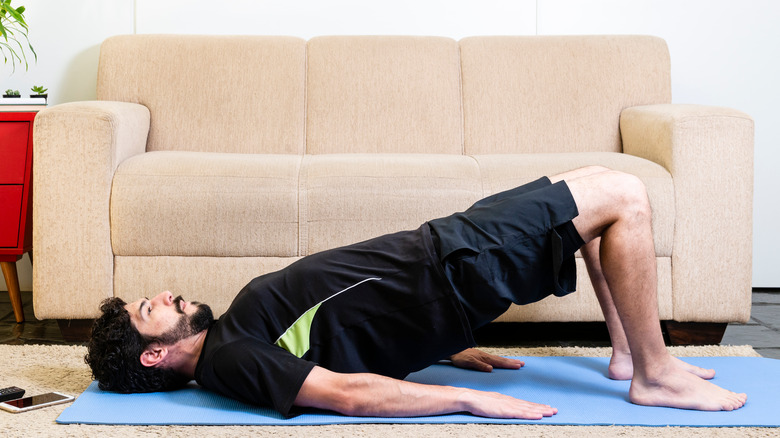
Bridge pose, or setu bandhasana, is common in many yoga classes, from beginner to advanced. Bridge pose is a backbend that stretches the chest, shoulders, and abdomen while strengthening the muscles in your back and glutes. If you're not familiar with bridge pose, it starts on your back with your knees bent and feet flat on the floor. Your arms can either remain next to your ribs or you can dig your elbows into the mat so your fingers point to the ceiling. While inhaling, press into your heels and lift your hips. Your hands can clasp behind your back if you'd like.
Bridge pose might be extremely difficult if you have tight iliopsoas muscles, which are your hip flexors. This limits your ability to press your hips, so your glutes might have to do more work than they should or your knees might splay further apart. This causes your pelvis to become unstable, and you could torque your lower back. Even if you moan when your instructor calls for bridge pose, there are a few modifications you can do so you can enjoy its back-bending benefits.
Three bridge pose modifications and a restorative bridge
According to Yoga Journal, you can protect your lower back by placing a yoga block between your thighs. This will prevent your knees from spreading apart while also taking the pressure off your glutes. You'll also get the added benefit of engaging your inner thighs. If your shoulders feel tight, try looping a yoga strap around the back of each hand. This will give you something to push against as you press into the mat with your hands and lift the chest higher. Some people's necks will flatten while doing bridge pose, and this could bring some discomfort even on the softest of yoga mats. As a remedy, you can place a rolled-up hand towel beneath it before you begin the pose. The towel will serve as an extra layer of comfort between the neck and a hard floor.
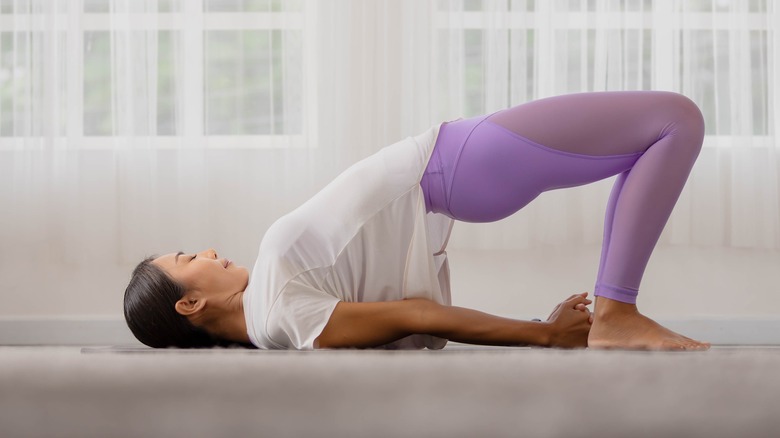
If your entire body is tanked after a tough yoga class, a restorative bridge can be a nice break. You'll still reap the benefits of bridge pose, but you'll have a little less strain on your body. You'll start similar to active bridge with your knees bent and feet flat, but once your hips begin to lift, slip a block underneath your sacrum (via Yoga Vastu). Your sacrum is that flat bone on the lower spine. Let your hips relax over the block, and you can extend one leg at a time if you'd like to get a stretch in your hip flexors.
Bridge pose options for strength
Once you get the hang of bridge pose, you can add modifications to build strength. According to YogaU Online, you fire up your glutes in bridge pose in this glute-strengthening variation. You'll begin with your heels slightly turned inward to emphasize more external rotation in the hips. While extending through your tailbone, lift your hips one vertebra at a time, keeping the top of your pelvis tilted slightly towards your spine to keep your lower back safe.
You can also target your hamstrings in bridge pose. This bridge pose modification requires a slippery surface such as a hardwood floor and a folded blanket or a pair of socks. Your upper body will remain on your mat, and your feet will either be wearing socks or on the folded blanket. You'll begin by flexing your feet with your toes pointed upward. Without moving your feet or hips, dig in with your heels as if you were moving them toward your hips. You should feel your hamstrings turn on. Now lift your hips off your mat, then slide your feet a few inches away from you. Keep moving your feet toward and away from your hips for some good hamstring work.